

What is Azure Web App?
Azure Web App is a fully managed platform as a service (PaaS) that enables you to build, deploy, and scale web applications globally. With Azure Web App, you can:
- Develop Web Apps: Quickly create powerful cloud apps for web and mobile using Azure App Service, which provides a framework for developing and running apps in the cloud.
- Choose Your Framework: Get first-class support for various programming languages and frameworks, including (link unavailable), (link unavailable) Core, Java, Node.js, PHP, and Python.
- Deploy and Scale: Deploy your web apps using various methods, such as copying files manually via FTP, synchronizing files from cloud storage services like OneDrive or Dropbox, or using continuous deployment via Azure DevOps, GitHub, or Docker Hub. Scale your apps manually or automatically based on demand.
Key Features of Azure Web App
- Global Reach: Deploy your apps in data centers around the world.
- High Availability: Ensure high availability and network performance with built-in load balancing and auto-scaling.
- Security: Secure your apps with built-in security features, such as network isolation and integrated authentication.
- Continuous Integration and Continuous Deployment (CI/CD): Deploy continuously with GitHub Actions, Azure Pipelines, and more.
- Application Templates: Choose from an extensive list of application templates in the Azure Marketplace.
Benefits of Using Azure Web App.
- Reduced Administrative Burden: Focus on creating great applications while Azure manages the underlying infrastructure.
- Cost-Effective: Pay only for the compute resources you use, with options for reserved instances and savings plans.
- Flexibility: Supports various programming languages, frameworks, and tools, including third party systems.

Create and configure an Azure Web app.
- Sign in to the Azure portal – https://portal.azure.com
- On the search bar, search for Web app → Create
- On the basic tab, fill in the details.
- Click review + create and then create.
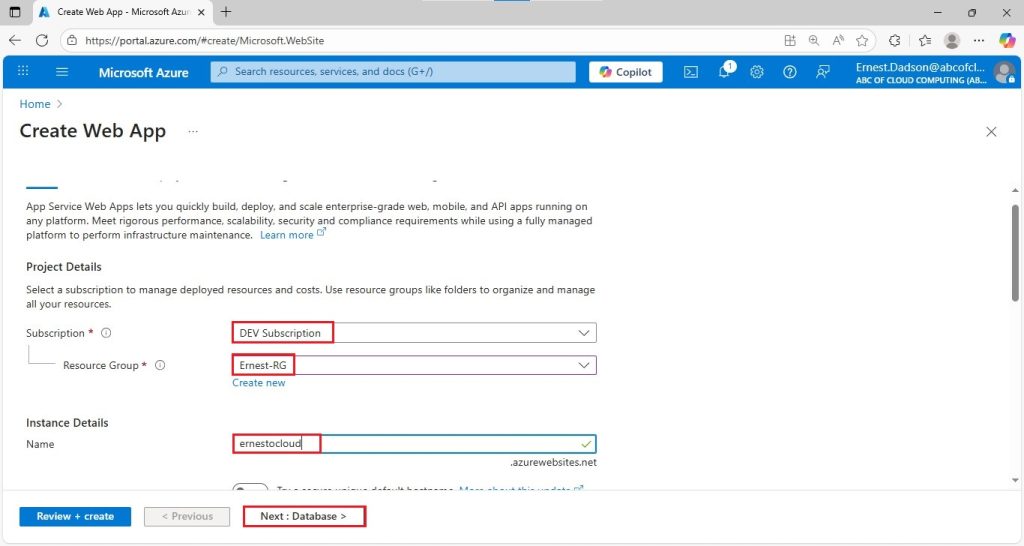

- Pricing plans: This actually determines the location, cost and compute resources associated with your app.
✓ Windows plan: Choose the one that best fit your specifications.
✓ Pricing plan:

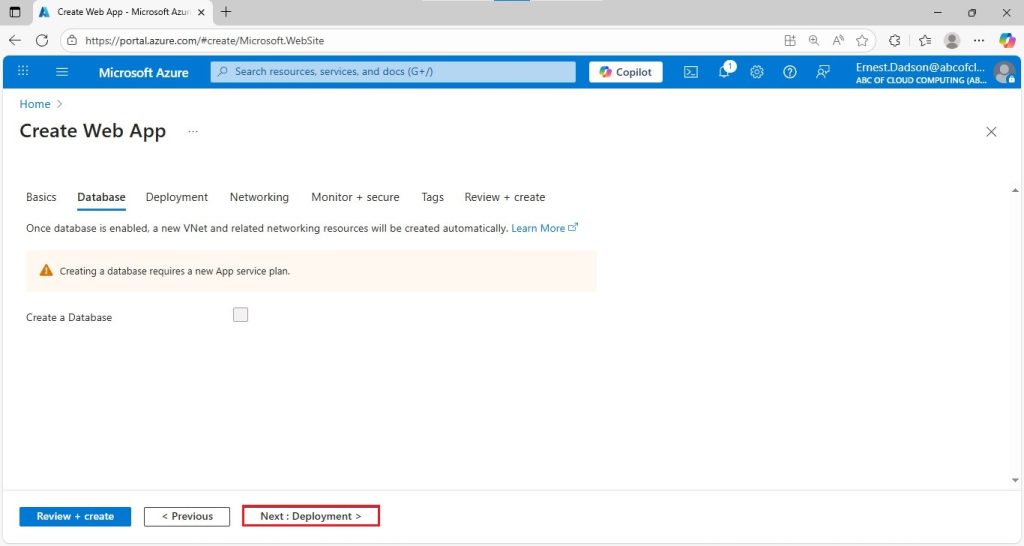
- Create a database: This is a system for storing and displaying information that is accessible from the internet/web. Add one if it meets your specification.

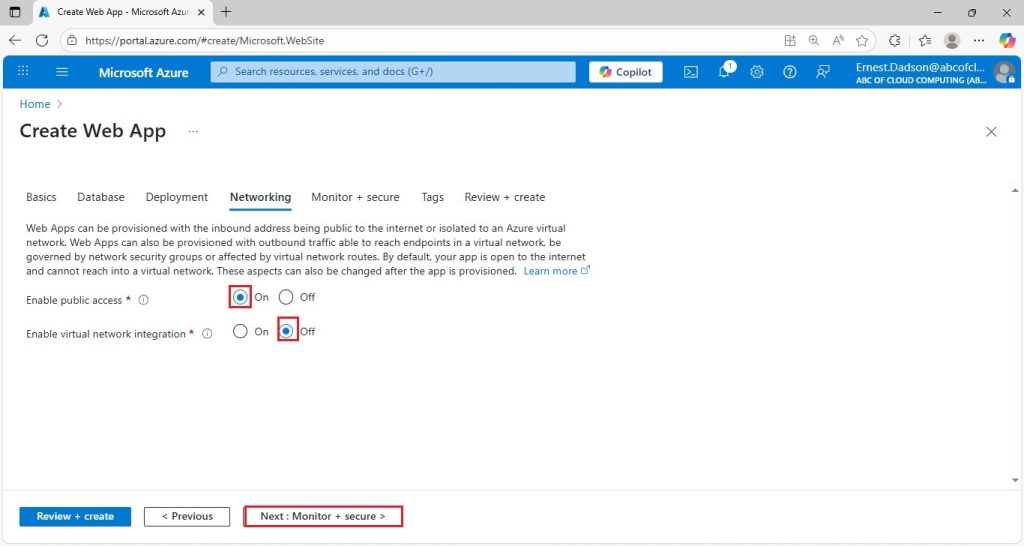

Enabling application insights collects performance and usage telemetry from your application, which is then used to monitor its health, diagnose performance issues and understand user behavior.

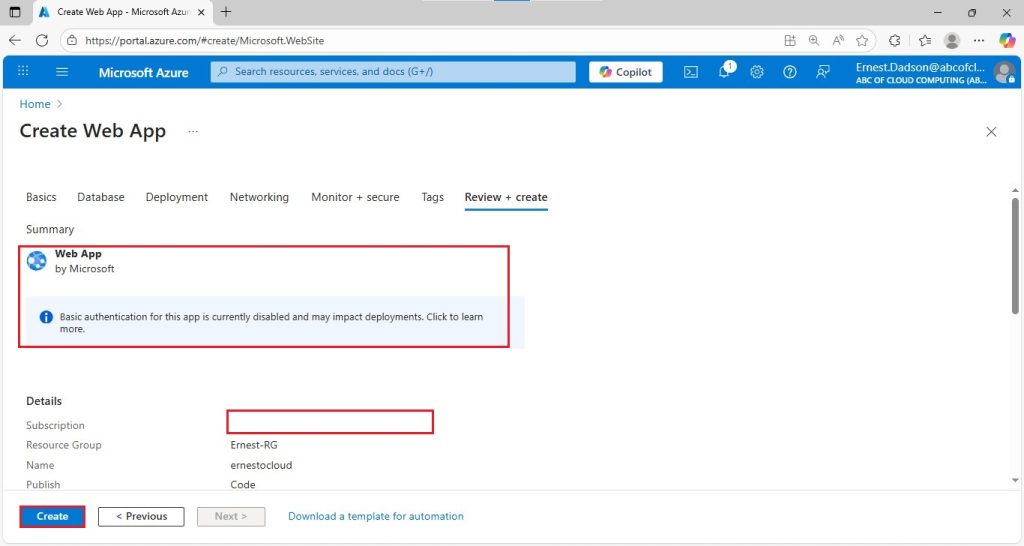
- Review + create when all is good.
Configure a deployment slot.
Deployment slots enable you to perform testing before making your app available to the public (or your end users.)
- At the overview of the newly deployed web app, click on the default domain link to display the default web page in new browser tab.


Back to your first browser, in the Deployment section of the Web App overview, click on Deployment slots.
- Click add slot and add a new slot with the following settings.
- Select Add to create the slot.


- Refresh the page to view the production and staging slots.
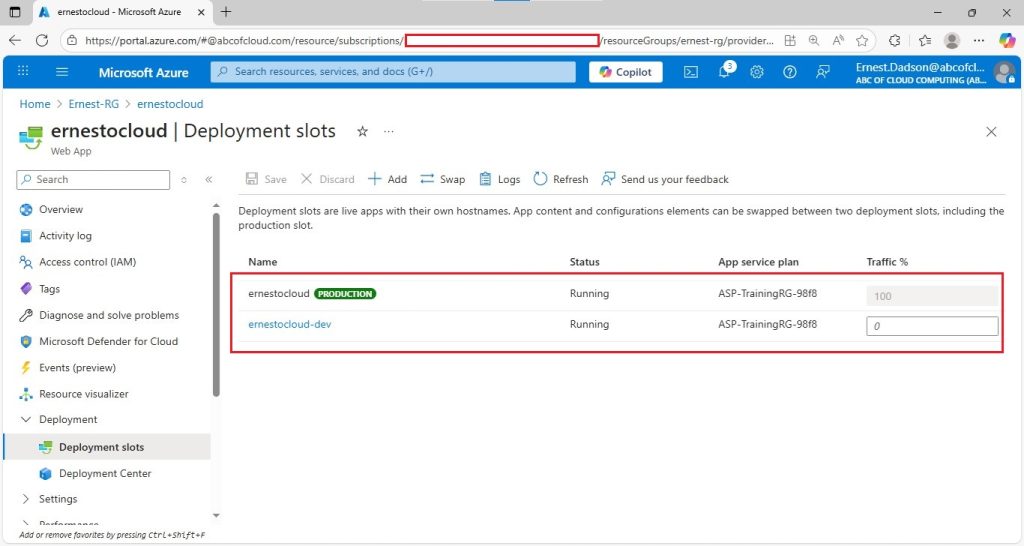
- Select the newly created staging slots. (E.g. ernestocloud-dev) → this will display the properties of the staging slot.
- Review the staging slot and note that its URL differs from the one assigned to the production slot.

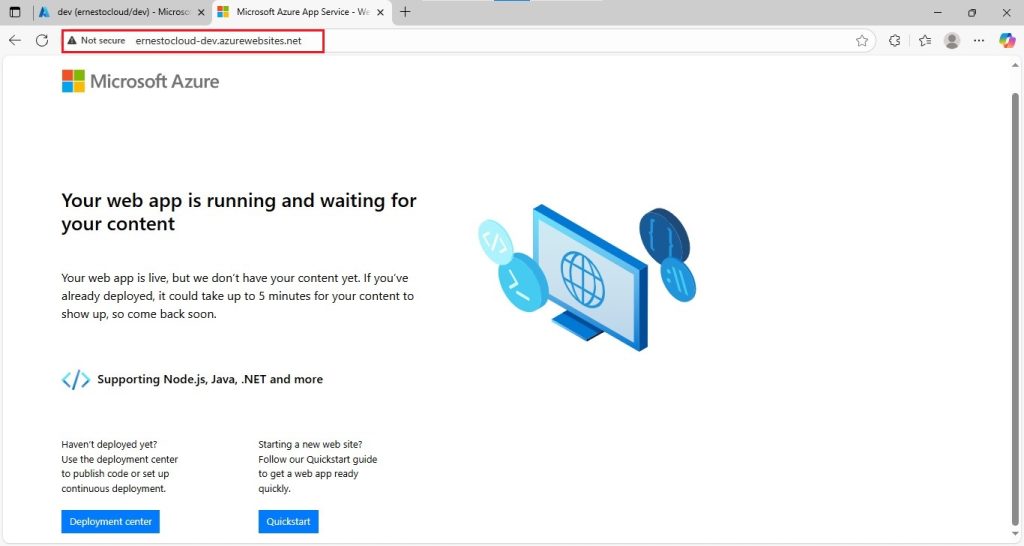
This is the development URL link which is not secured to the public for viewing.
Configure Web App deployment settings
These settings allow for continuous deployment. It ensures that the app service has the latest version of the application.
- In the staging slot, select deployment tools→ App service editor(preview) and then click on open editor. All these will be done in the staging slot (e.g. Ernestocloud-dev)
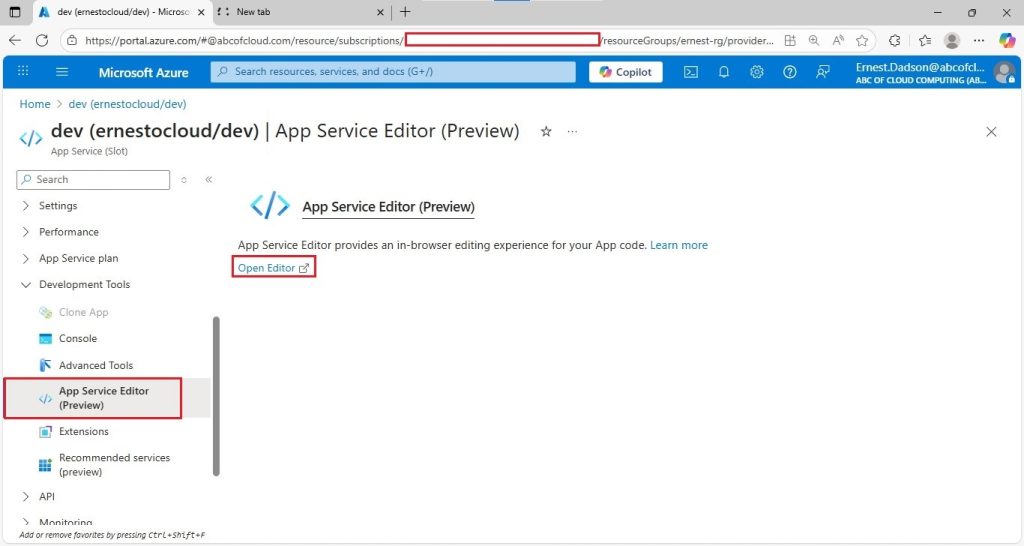
- In the App Service Editor, select hostingstart.html. Edit the default web page to suit your specification. It saved changes automatic.


- From the staging slot, select overview
- Select the default domain link, and open the URL in a new web browser tab.
- Verify that the staging slot displays the changes you made. (E.g. Welcome to Ernestocloud).

Swap Deployment Slots.
This allows you to use code that you have tested in your staging slot and move it to production. Swapping slots is a common task for application teams and support teams, particularly those responsible for deploying routine app updates and bug fixes.
- Navigate back to the Deployment slots and select swap.
- Review the default settings and click start swap.

- Open the Production deployment slot → Overview of the web app.
- Select the default domain link to display the website home page.
- Verify, the production web page now displays “Welcome to Ernestocloud” which is my customized page.

This the production URL link which is secured for public viewing.
Microsoft Azure – Web App